Welcome to FreePromptBuilder.com! Whether you are a beginner looking to get better results from ChatGPT, Claude, and Gemini, or an advanced developer using AI to write code, this guide will show you how to maximize your workflow.
Our tool is designed to help you construct the perfect prompts by organizing your thoughts into structured sections. Here is a walkthrough of how to use our platform.
Getting Started: The Main Interface
When you first arrive on the site, you’ll see a clean, distraction-free environment. The builder is separated into Tabs, allowing you to switch between use cases instantly.
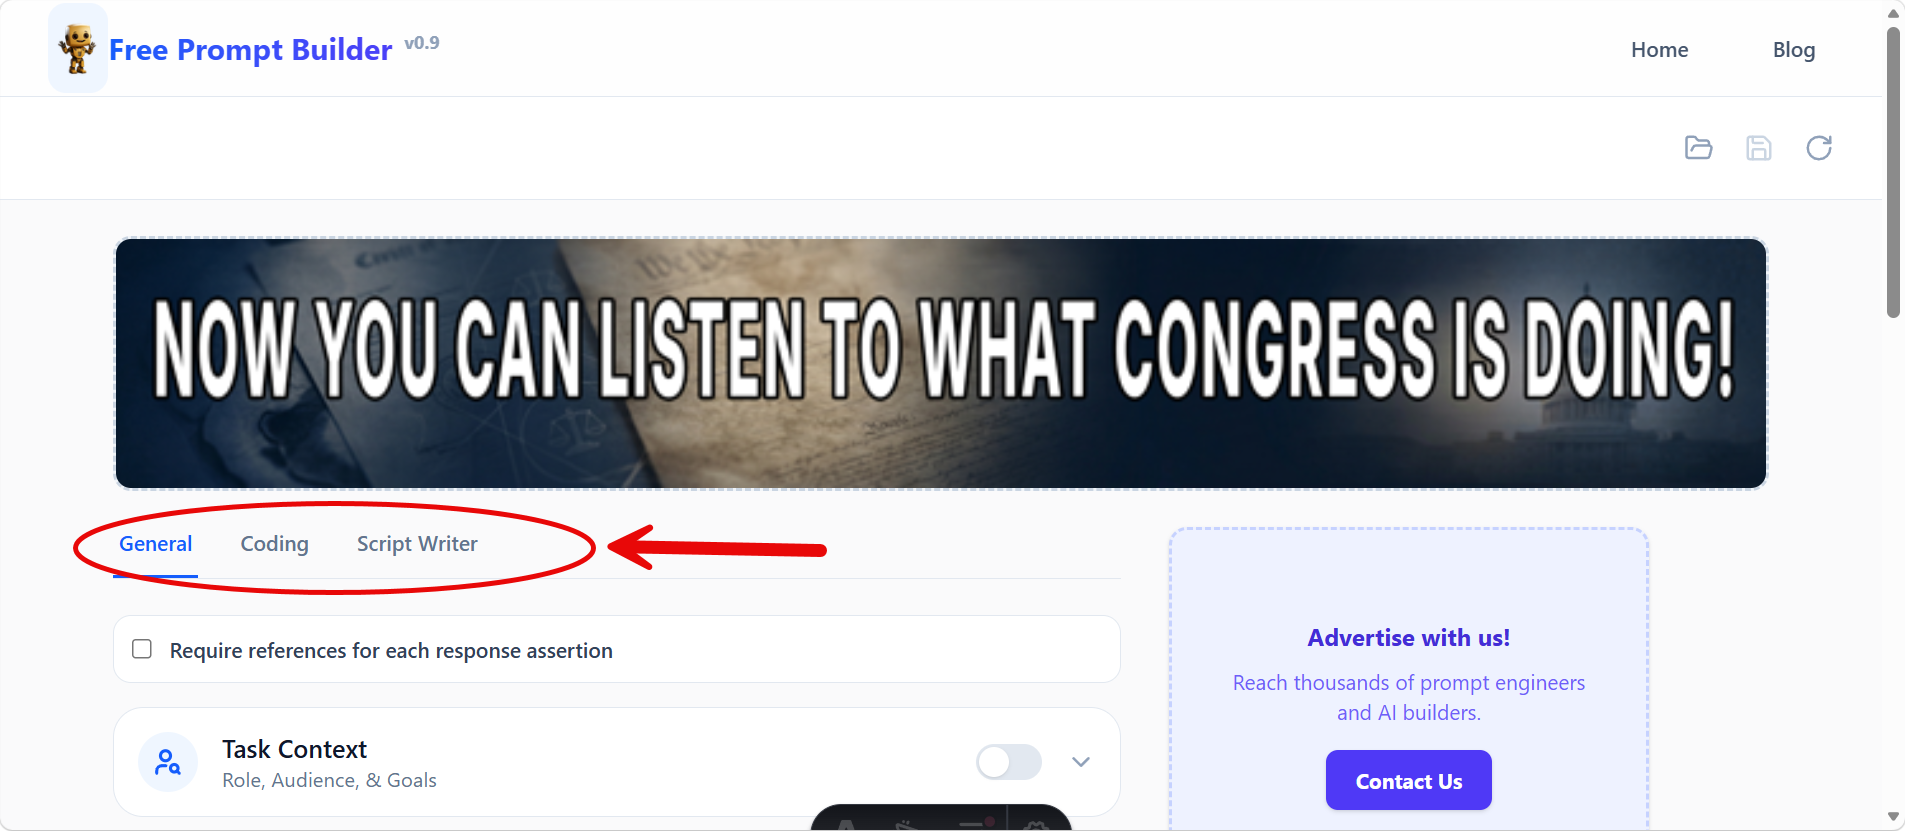
At the top right of the application, you’ll find your utility belt:
- Folder Icon: Open previously saved prompts.
- Save Icon: Save your current active prompt to your browser’s local cache.
- Refresh Icon: Clear out the current form entirely to start fresh.

1. The “General” Tab
The General tab is perfect for day-to-day interactions. It relies on a classic sectioned prompt paradigm. By keeping concepts like “Role”, “Task”, and “Format” separated, the AI is much less likely to get confused.
Enabling Sections
Scroll through the available cards and toggle the sections you need. If a section is toggled off, it will simply be omitted from your final generated prompt.
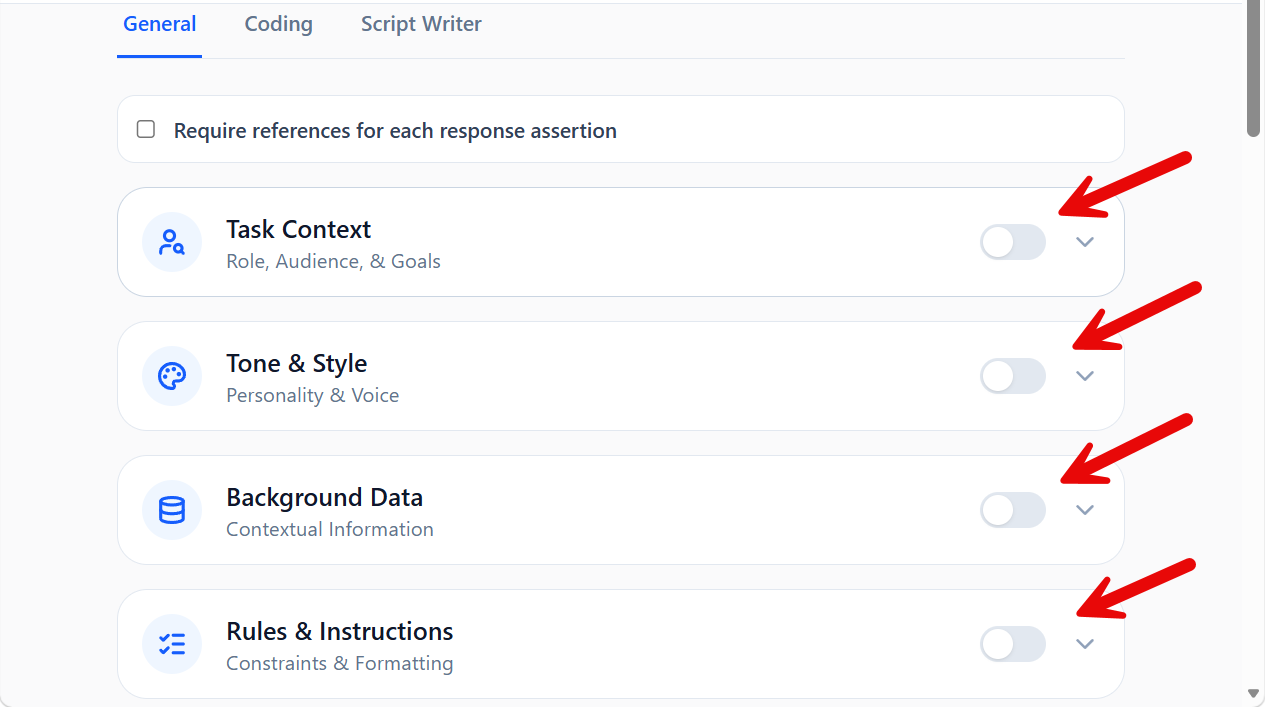
Require References
Notice the toggle at the very top: “Require references for each response assertion”. Check this box if you are doing research and want the LLM to cite its sources!
2. The “Coding” Tab (Vibe Coding)
Vibe Coding is a modern methodology for using an AI to write software. Instead of giving line-by-line instructions, you define the stack, the architecture, and the vibe of the project.
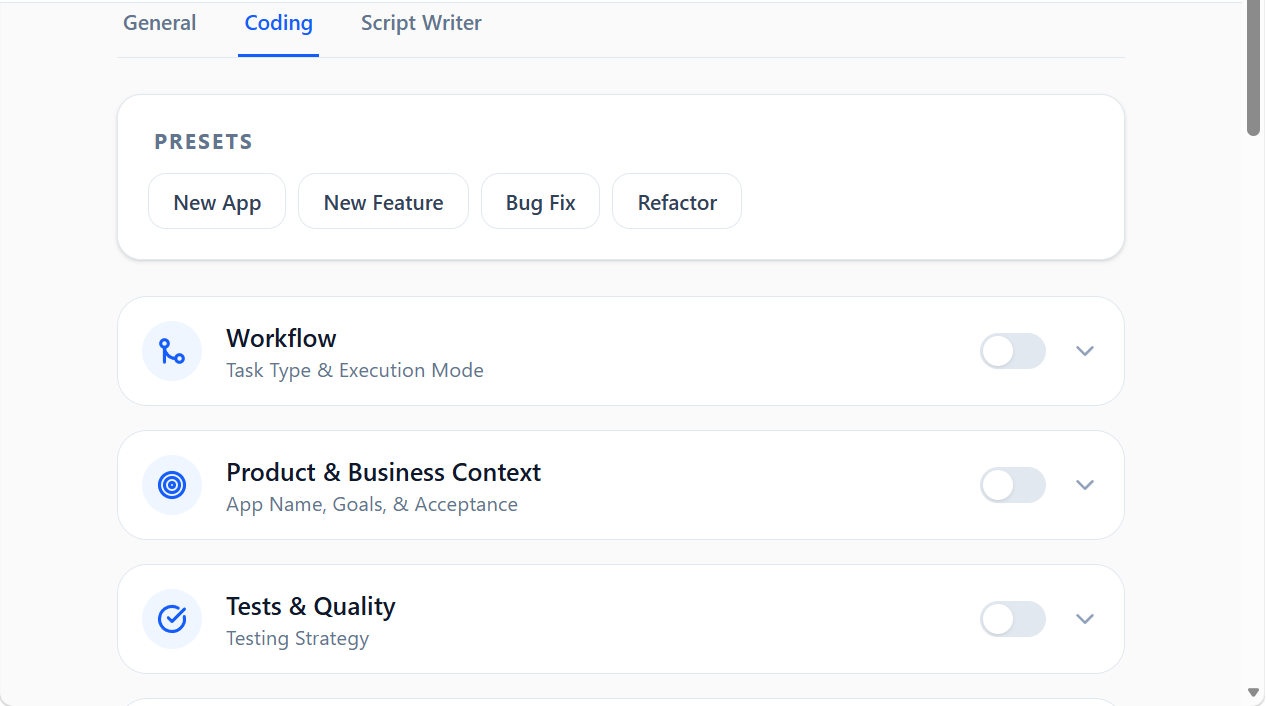
- Load a Preset: Try loading a preset like “New App” or “Bug Fix” to auto-fill the form with standard best practices.
- System Prompting: The output here is designed to be fed into powerful coding assistants like Cursor, GitHub Copilot Chat, or Anthropic’s Opus models.
3. The “Website Design” Tab
The Website Design tab provides a comprehensive design brief builder for creating polished, detailed website design prompts. Whether you are handing a brief to an AI designer, a freelancer, or using it to guide your own build, this tab walks you through every critical decision.
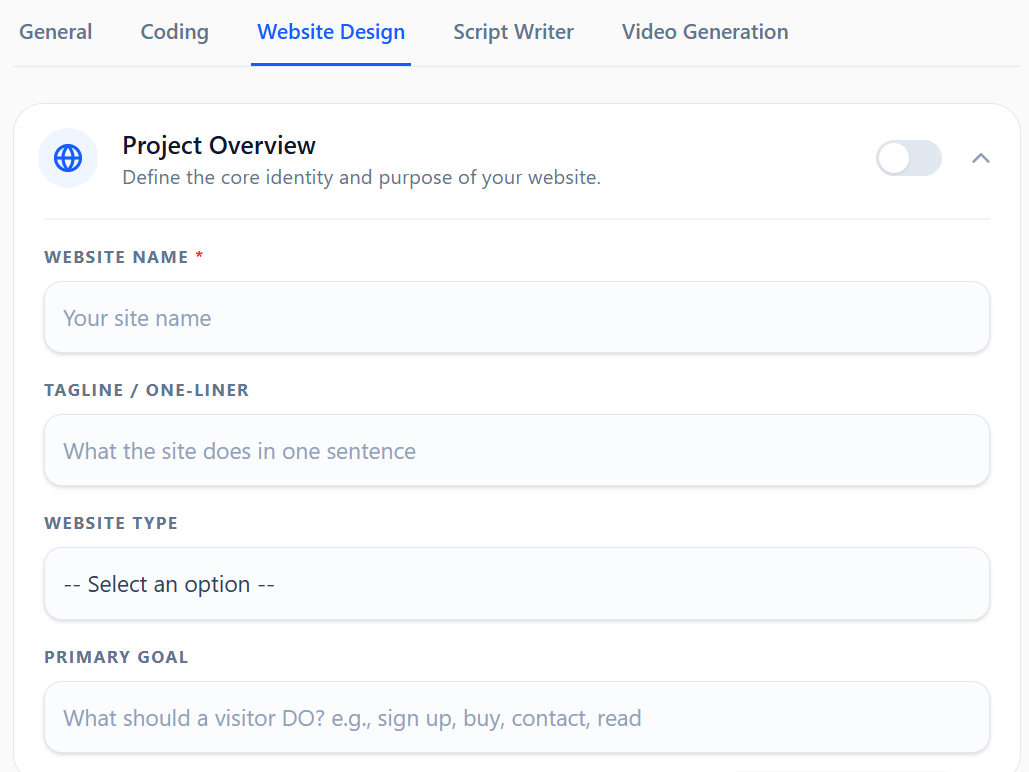
The 10 Sections
The tab is organized into 10 collapsible sections, each covering a key area of a website design brief:
- Project Overview — Define the website name, tagline, type (SaaS, Portfolio, E-commerce, etc.), and primary goal. This is the core identity of the project.
- Target Audience — Describe who the user is, what they care about, and whether they are primarily on mobile, desktop, or both.
- Brand & Tone — Choose an aesthetic direction (Minimal, Brutalist, Luxury, Playful, and more) and a tone of voice. Add a mood reference to convey the feeling of the site.
- Visual Style — This is where design decisions come together:
- Color Palette Picker — Instead of typing color names, you get 5 interactive color swatches for Primary, Accent, Background, Surface, and Text. Click any swatch to open a color picker, or type a hex code directly. The generated prompt will include the exact hex values.
- Typography, Imagery, Layout, Motion, and Theme — Each uses a select-with-other dropdown so you can pick a standard option or type your own.
- Pages & Sections — A checkbox group letting you quickly select which pages to include: Hero, About, Features, Pricing, Testimonials, Team, FAQ, Blog, Contact, and Footer. Add custom sections in a text field.
- Key Content — Specify the headline, call-to-action text, key features/benefits, and social proof elements.
- Navigation — Choose the nav style (top bar, sidebar, hamburger, sticky, etc.), list menu items, and pick a logo style.
- Technical Requirements — Select a framework (React, Vue, Next.js, Astro, etc.), responsiveness strategy, accessibility level, performance priority, and any third-party integrations.
- Inspiration & References — List sites you love, sites to avoid looking like, and describe the one unforgettable design moment you want.
- Constraints & Notes — Specify things to avoid, brand assets you already have, the project scope (full site, landing page, or hero only), and any free-form notes.
Using Select-with-Other Fields
Most dropdown fields in this tab offer an “Other (please specify)” option at the bottom of the list. Selecting it reveals a text input where you can type any custom value. This gives you the best of both worlds: quick selection of common choices and full flexibility for unique needs.
4. The “Script Writer” Tab
If you are a content creator, marketer, or copywriter, the Script Writer tab automates the layout of scripts.
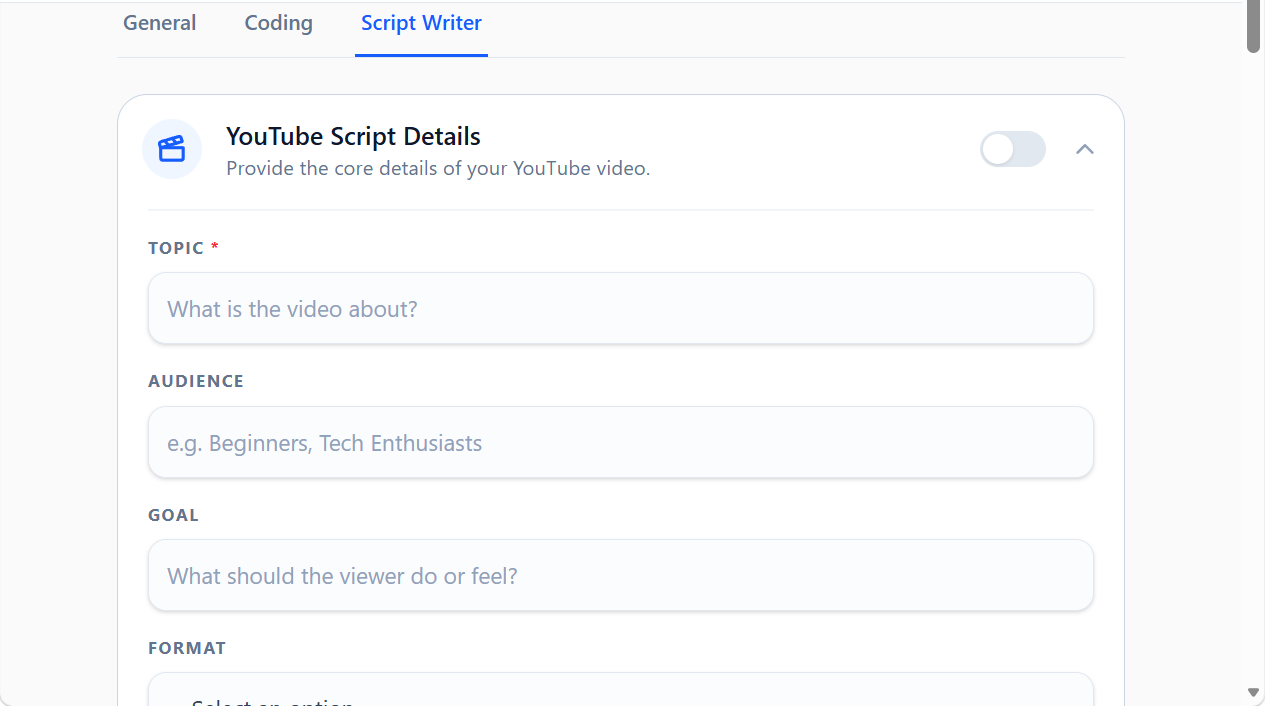
Fill out parameters like Target Audience, Tone of Voice, and Required Elements, and the tool will stitch together a prompt that specifically commands the AI to output a structured script suitable for YouTube, TikTok, or business presentations.
5. The “Image Generation” Tab
The Image Generation tab provides an exhaustive structure for crafting perfect prompts for powerful AI image models like Midjourney, DALL-E, or Stable Diffusion.
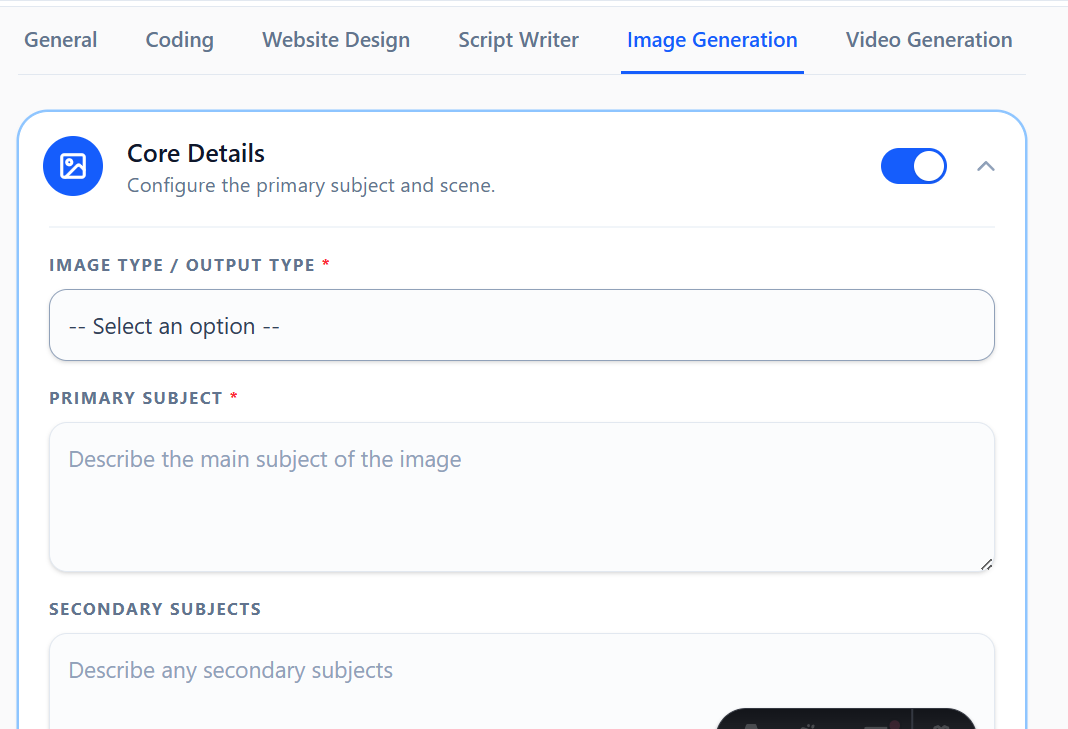
This tab guides you through defining every visual aspect of an image, rather than just typing a basic concept:
- Rich Subject & Environment Details: Define exact expressions, wardrobe, lighting, locations, and weather.
- Photography & Camera Logic: Choose specific focal lengths, camera angles, apertures, film textures, and distinct rendering styles to enforce incredibly high visual standards.
- Midjourney Integration: Granularly tune exact parameters directly inside the form, such as
--arfor aspect ratios, stylize values, or--style raw.
6. The “Video Generation” Tab
The Video Generation tab is specifically built to help you craft dynamic, highly-detailed scene prompts for advanced AI video models like Sora, Luma, Runway, or Pika.
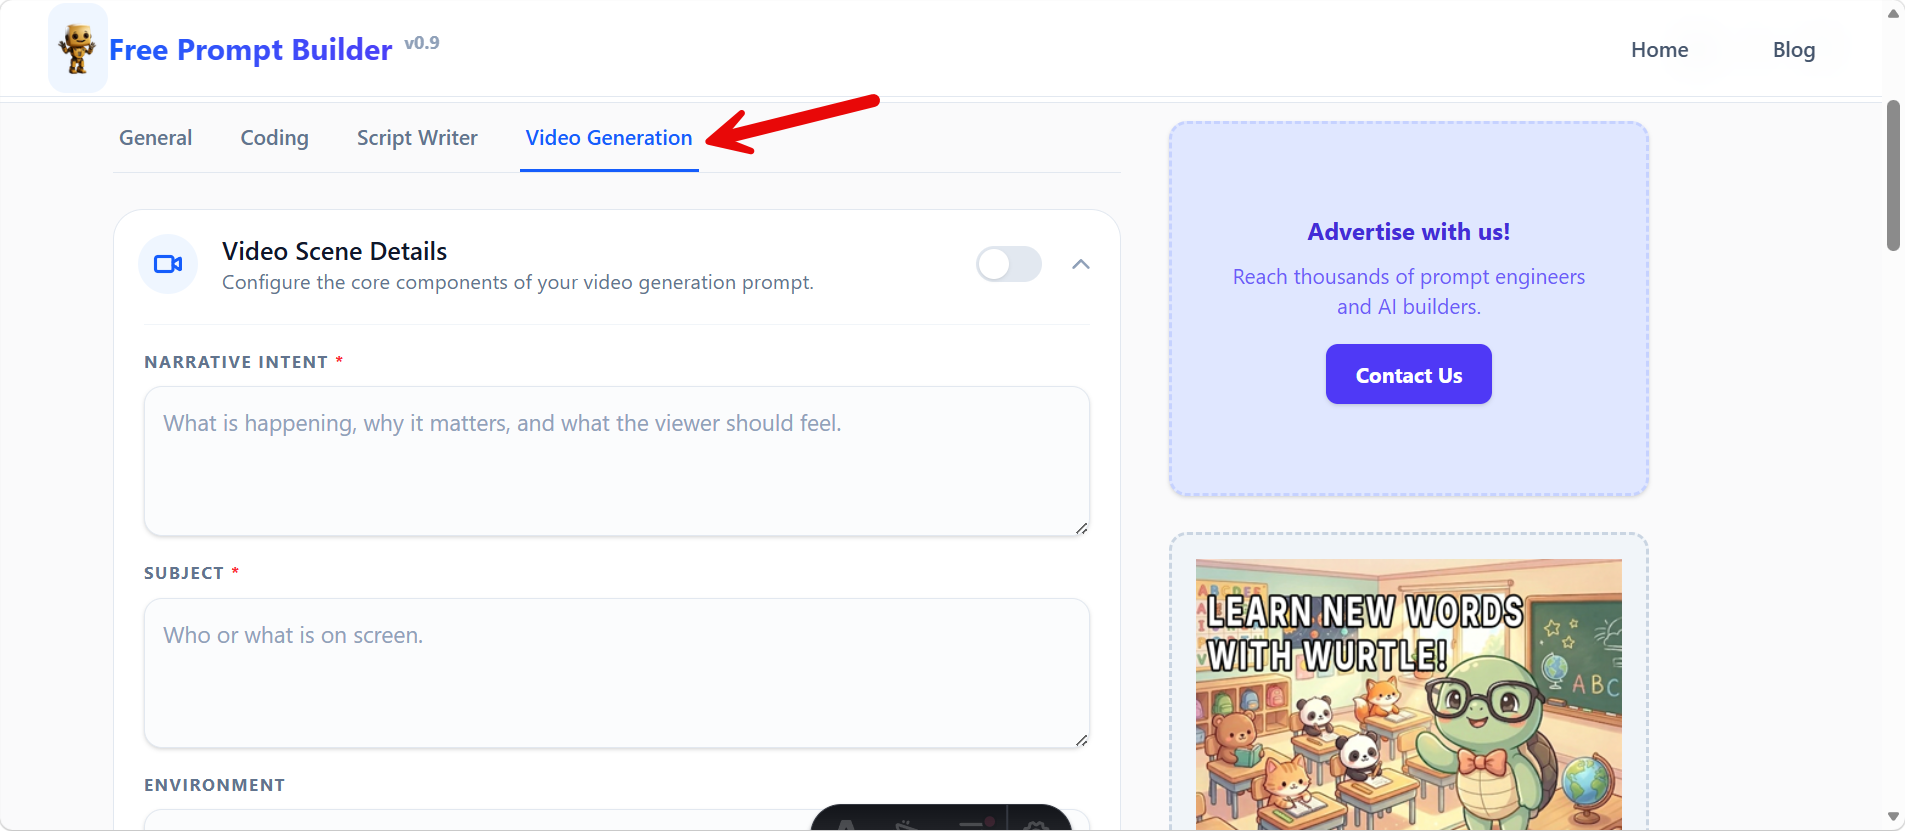
Instead of relying on basic text, this tab provides a comprehensive checklist covering critical elements to achieve cinematic results.
- Select-with-Other Functionality: For aspects like Camera Movement, Lighting, or Shot Size, you can choose from structured, industry-standard options or select “Other (please specify)” to input custom parameters.
- Granular Control: Define the Narrative Intent, Audio, and Continuity Constraints to give the AI precise context and mood directives.
7. The “T-Shirt Design” Tab
The T-Shirt Design tab is a specialized tool tailored for print-on-demand sellers, graphic designers, and merch creators looking to generate isolated, print-ready apparel graphics.
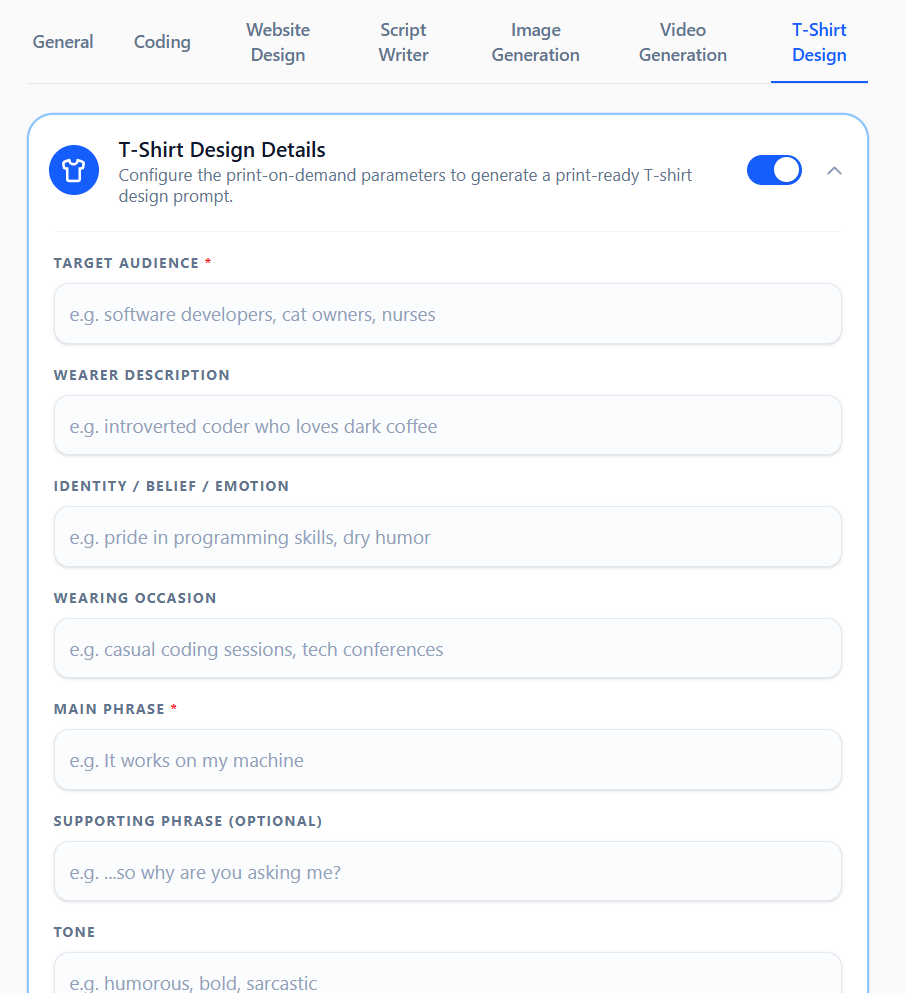
- Target Audience & Core Theme: Define who the garment is for, the wearing occasion, and the core identity/emotion the design should communicate.
- Composition & Visual Concept: Control primary focal points, secondary visual elements, layout composition (Centered circular, Stacked vertical, Shield/Badge, etc.), and typography treatments.
- Vector-Ready Outline Control: Toggle the “CONSISTENT OUTLINE COLOR & PATHS” selector to command the AI to use solid, continuous outlines with uniform stroke widths—ideal for clean vector tracing and background removal.
- Print Exclusions: Automatically formats final outputs with necessary exclusions to prevent background elements, models, room mockups, and hangers, giving you clean, isolated artwork on transparent backgrounds.
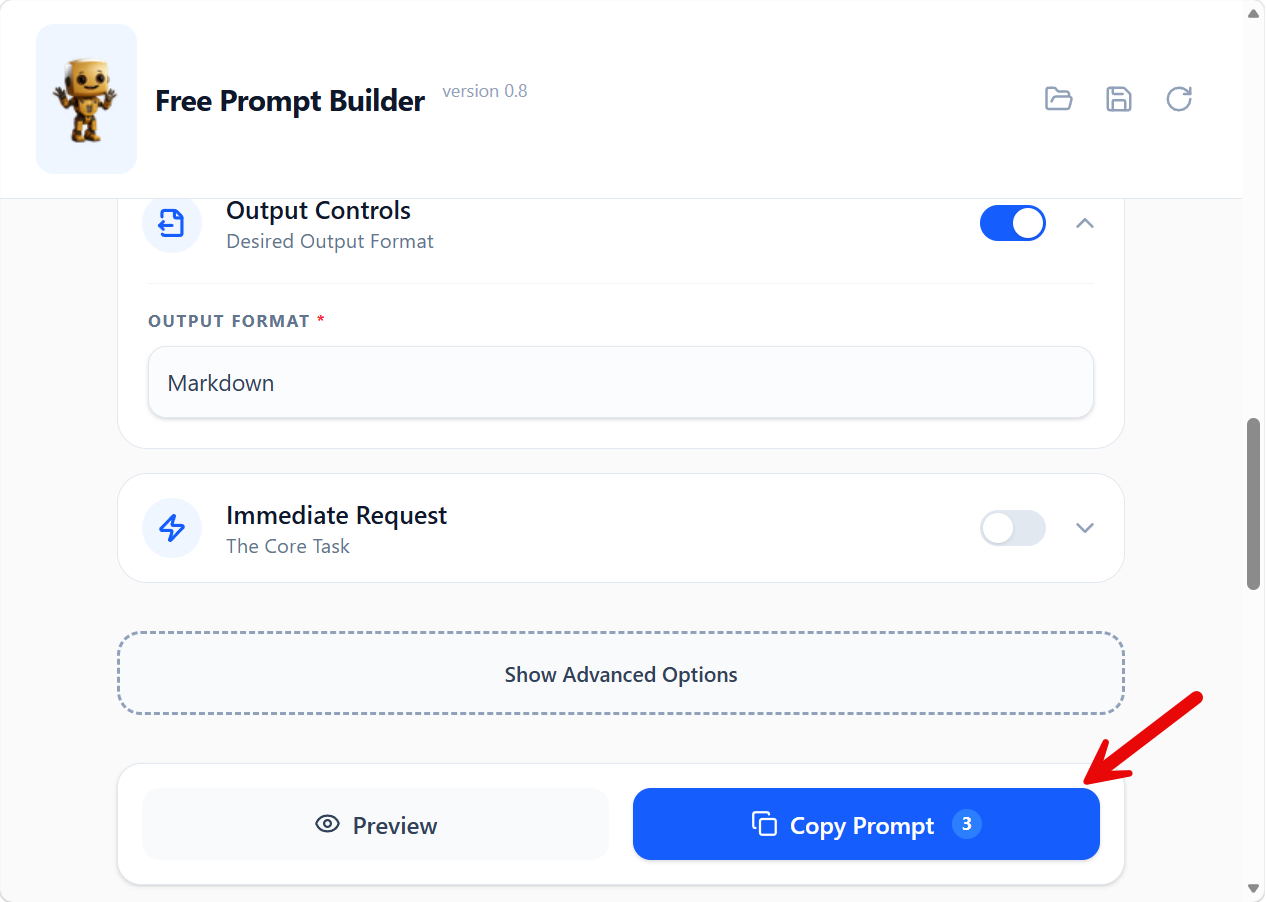
Previewing and Copying Your Prompt
As you work, you always have two primary actions at the bottom of the form:
- Preview: Opens a modal showing exactly what text will be sent to the AI.
- Copy Prompt: Instantly copies the full assembled prompt to your clipboard, along with a helpful counter badge showing how many sections you’ve enabled!
Saving Your Work
Tired of re-typing the same complex setup every day?
Click the Save (Disk) Icon at the top right, give your prompt a descriptive name, and it will be securely saved into your browser’s local storage. Next time you visit, click the Folder Icon to load it up and pick up exactly where you left off.
Ready to start prompting? Head back to the Home Page to try it out!